Intercepting Flutter Traffic on Mobile Applications
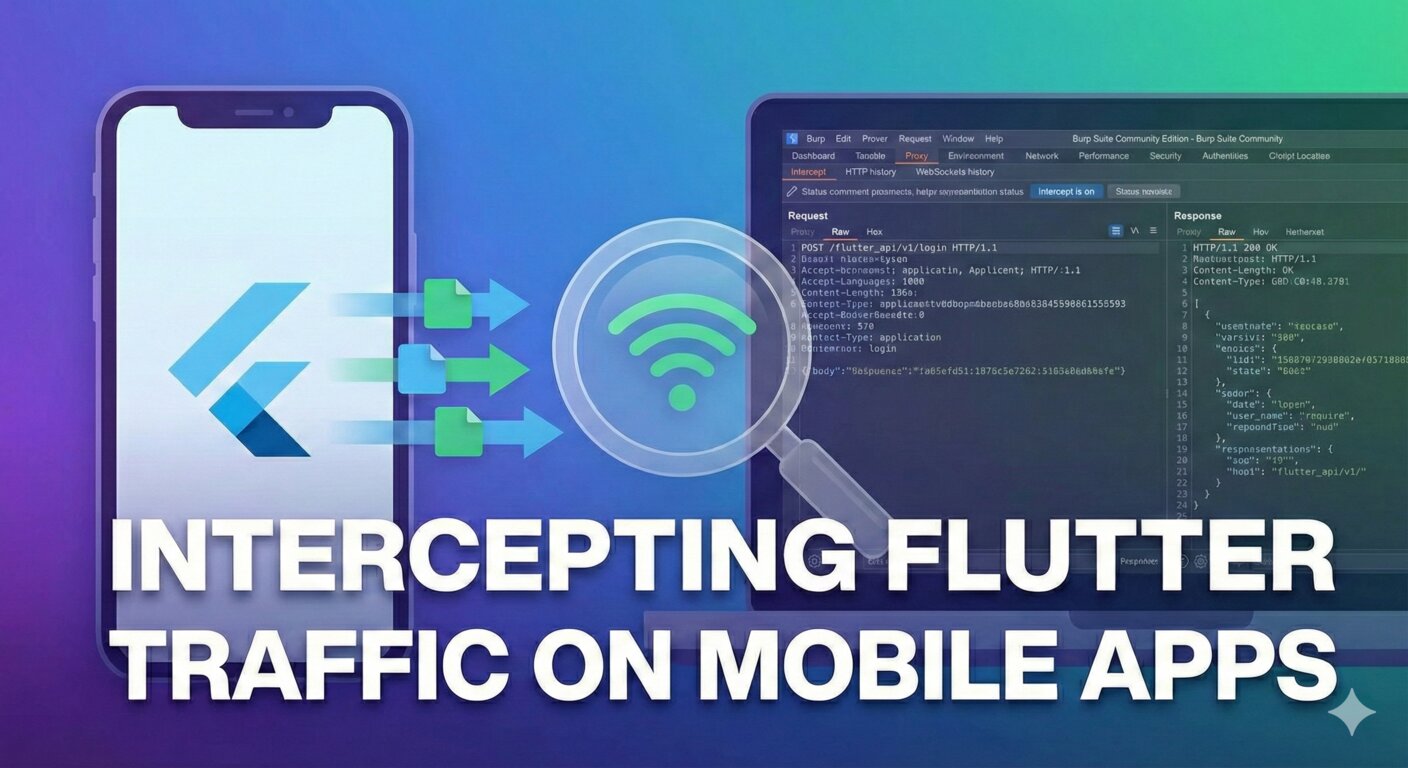
Flutter apps are notoriously difficult to intercept—they ignore system proxies and use BoringSSL with custom certificate pinning. This guide walks through setting up a VPN on Kali to route iOS traffic, disabling TLS verification with Frida, and capturing packets in Burp. It’s applicable to Android with minor adjustments.
Background
Recently I dove into mobile pentesting for the first time with a Flutter-based app on iOS. Flutter’s architecture makes traffic interception painful because:
- No system proxy respect - Flutter uses its own HTTP stack, ignoring iOS/Android proxy settings
- BoringSSL - Custom TLS implementation instead of the OS’s certificate store
- Certificate pinning - Often baked into the Dart/Flutter code or via libraries like Dio
This guide is based on NVISO’s excellent 2020 blog with their 2022 update for newer Flutter/Dio pinning. The process is similar for Android—swap iOS-specific steps with rooted Android equivalents like ProxyDroid.
Note: This requires a jailbroken iOS device (or rooted Android). Always test in a lab environment. Jailbreaking voids warranties and carries security risks.
Prerequisites
| Component | iOS | Android |
|---|---|---|
| Host | Kali Linux | Kali Linux |
| Device | Jailbroken iOS | Rooted Android |
| Frida | Frida server via Cydia | Frida server in /data/local/tmp/ |
| Proxy | OpenVPN app | ProxyDroid |
| Tools | Burp Suite | Burp Suite |
If running Kali in VMware/VirtualBox, switch from NAT to Bridged networking. This assigns the VM its own IP on the host’s network, making it directly accessible from your mobile device without port forwarding headaches.
Setting Up OpenVPN on Kali
To route the device’s traffic through Kali (acting as a MITM proxy), we need OpenVPN. This creates a tunnel for traffic redirection.
Download and tweak the installer script to fix Kali compatibility:
1 | wget https://git.io/vpn -O openvpn-install.sh |
During setup, answer the prompts:
1 | This server is behind NAT. What is the public IPv4 address or hostname? |
This generates a .ovpn file in /root/ (e.g., ios-pentest.ovpn).
Start the OpenVPN service:
1 | sudo service openvpn start |
Serve the .ovpn file via HTTP for download:
1 | cd /root/ |
On iOS, navigate to http://<kali-ip>:8000/ios-pentest.ovpn, download the file, import it into the OpenVPN app, and connect.
Configuring IPTables for Traffic Redirection
Redirect HTTP/HTTPS traffic (ports 80/443) to Burp’s listener (default 8080). The interface depends on your setup:
For OpenVPN (tun0)
1 | # Redirect traffic to Burp |
For WiFi Hotspot (wlan0)
If you’re using a WiFi hotspot instead of VPN:
1 | sudo iptables -t nat -A PREROUTING -i wlan0 -p tcp --dport 80 -j REDIRECT --to-port 8080 |
Enable IP forwarding:
1 | sudo sysctl -w net.ipv4.ip_forward=1 |
In Burp, go to Proxy > Options and enable Invisible proxying on port 8080. This is crucial—invisible proxying handles non-proxy-aware traffic by using the Host header to determine the destination.
Installing Frida
On Jailbroken iOS
- Open Cydia and search for “Frida”
- Install the Frida server package
- Run
frida-serveron the device (via SSH or terminal app)
On Rooted Android
1 | # On host, download frida-server for your architecture |
On Host (Kali)
1 | pip install frida-tools |
Verify connectivity:
1 | frida-ps -U # List processes on USB device |
Disabling TLS Verification with Frida
Flutter uses BoringSSL internally, so we hook into its verification functions to bypass pinning. NVISO maintains an excellent script for this: disable-flutter-tls.js.
Download the script:
1 | wget https://raw.githubusercontent.com/NVISOsecurity/disable-flutter-tls-verification/main/disable-flutter-tls.js |
The script works by scanning for patterns in libFlutter.so (Android) or Flutter.framework/Flutter (iOS) and replacing ssl_verify_peer_cert to always return success:
1 | function hook_ssl_verify_peer_cert(address) { |
Run the script against your target app:
1 | frida -Uf com.example.flutterapp -l disable-flutter-tls.js --no-pause |
Replace com.example.flutterapp with your app’s bundle ID. Use frida-ps -Ua to find installed apps.
The -U flag targets a USB device, -f spawns the app, and --no-pause prevents Frida from pausing at startup.
Troubleshooting
If the script fails with pattern mismatch errors:
- Check Flutter version - The 2022 update targets
ssl_verify_peer_certinstead of the oldsession_verify_cert_chain - Architecture issues - ARM64 vs ARM32 patterns differ
- Report issues - Check NVISO’s GitHub for updates
For apps using Dio (a popular Flutter HTTP library with its own pinning), the script handles this by bypassing the certificate chain check.
Intercepting Traffic
With everything configured:
- Connect the iOS device to OpenVPN (or WiFi hotspot)
- Verify VPN connection in iOS settings
- Launch the target app with Frida attached:
1 | frida -Uf com.example.flutterapp -l disable-flutter-tls.js --no-pause |
- Trigger network requests in the app
- Watch traffic appear in Burp
You should now see all HTTP/HTTPS traffic from the Flutter app, decrypted and modifiable.
Android Notes
For Android, the process is nearly identical:
| iOS | Android |
|---|---|
| OpenVPN app | ProxyDroid |
| Cydia/Frida | Magisk + frida-server |
| Jailbreak | Root |
ProxyDroid routes all traffic through your proxy, similar to the VPN approach. The same Frida script works cross-platform.
Beyond Basics
Decrypting Binaries
For production apps, you may need to decrypt the binary first:
Debugging
If Dio pinning errors appear in logs even after Frida injection, the app may be using a custom implementation. Check for:
BadCertificateCallbackhandlers- Custom
HttpClientconfigurations - Native code certificate checks
Documentation
In real pentests, document everything:
- Device state (jailbreak/root method)
- Tools and versions used
- Traffic captures and findings
- Legal/ethical considerations
Flutter evolves fast—NVISO’s repos are updated regularly to match new Flutter releases.
Summary
| Step | Tool | Purpose |
|---|---|---|
| 1 | OpenVPN | Route device traffic through Kali |
| 2 | IPTables | Redirect 80/443 to Burp |
| 3 | Frida | Disable TLS verification at runtime |
| 4 | Burp | Intercept and modify traffic |
This setup successfully caught encrypted API calls in my Flutter app, revealing endpoints, authentication flows, and data structures that would otherwise be invisible.
That’s Flutter traffic intercepted. On to more mobile apps!